Domain Authentication
I. Preparation
- Domain: The domain used for sending emails
- Domain registrar account: For DNS resolution
- uSpeedo account: For obtaining DNS record values
II. Configuration Steps
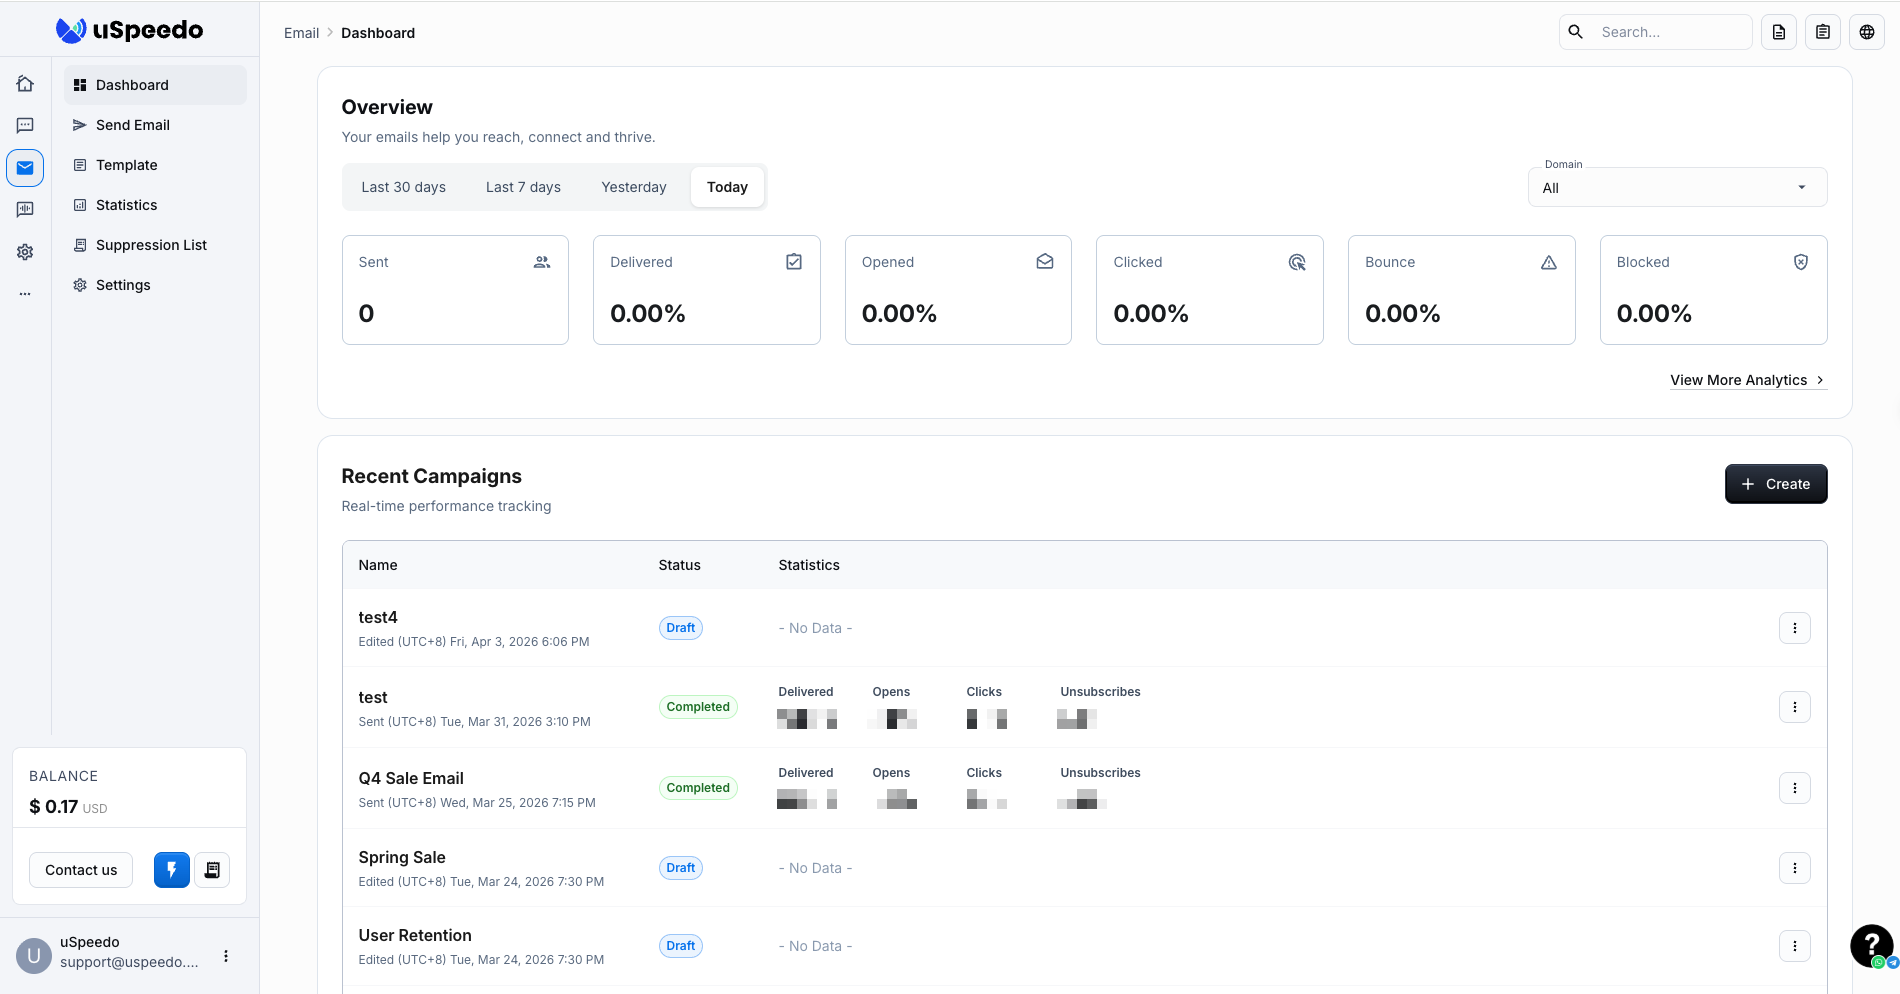
- After entering the uSpeedo Console, click Go To Email Console to access the Email Console.
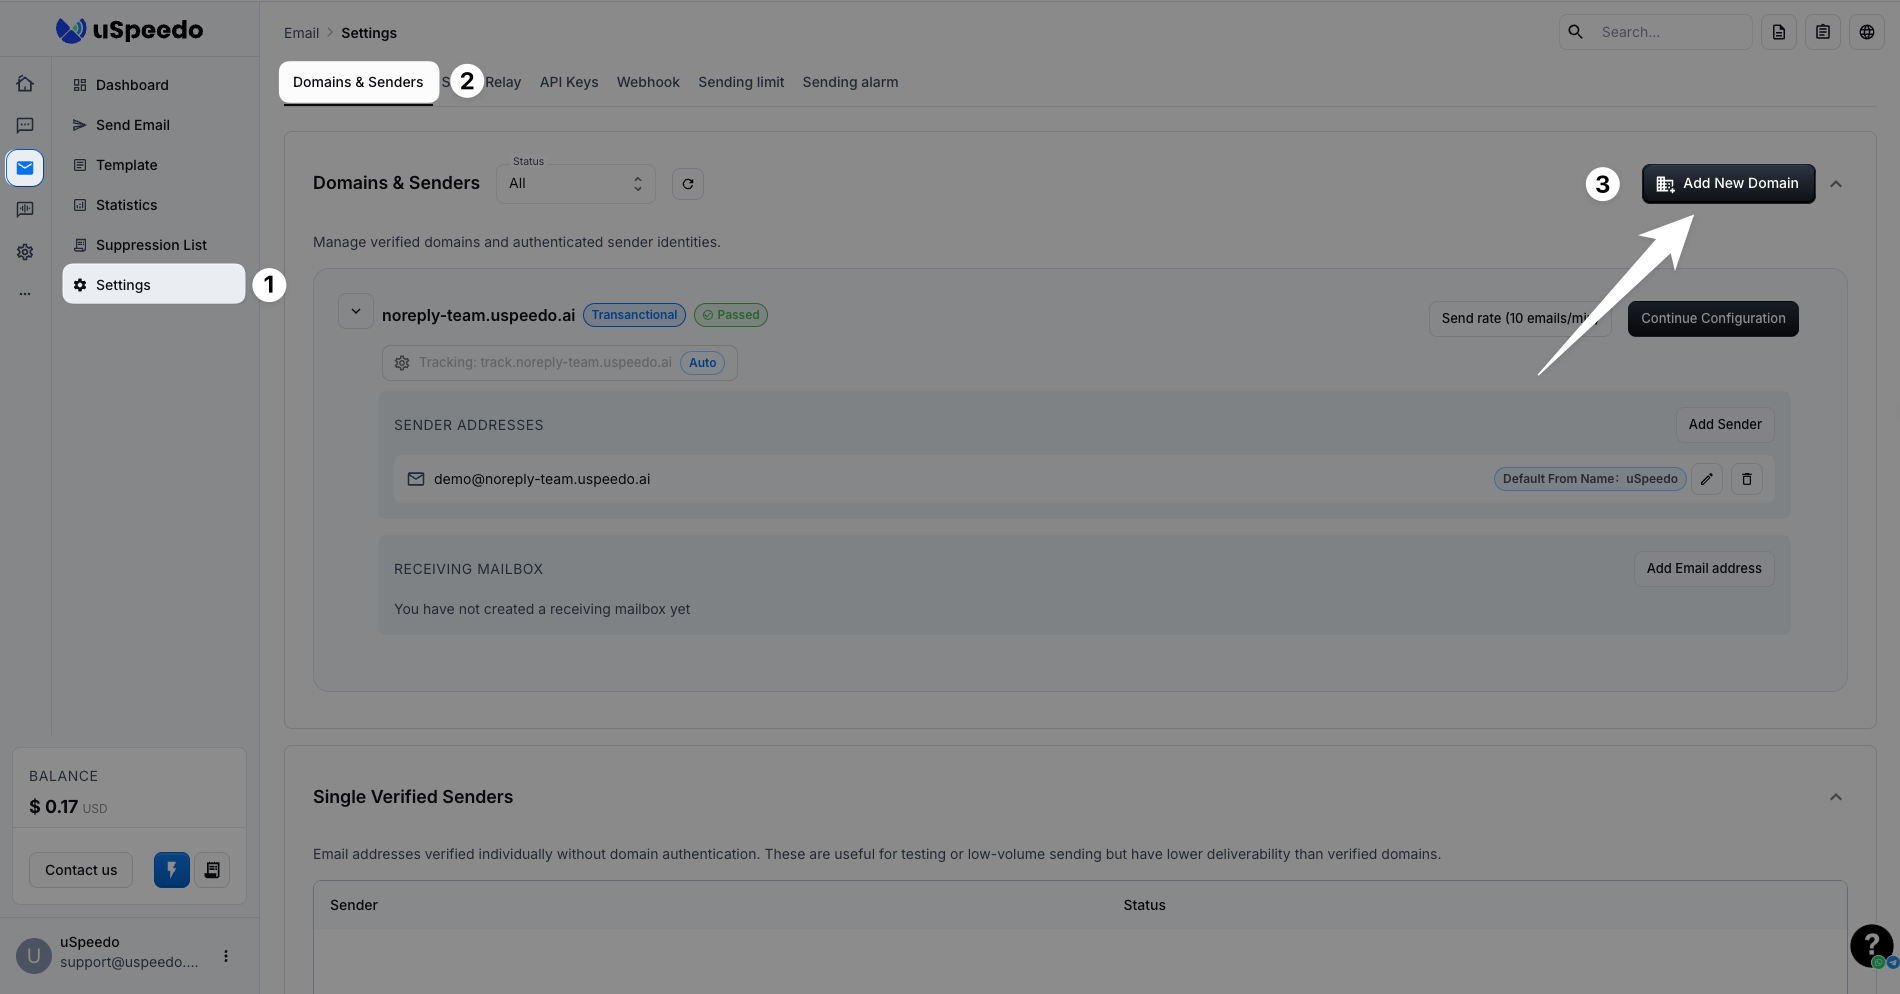
- Navigate to Settings → Domains & Senders → Add New Domain.
Add your sending domain on this page.
In the popup, select your domain registrar. If it is not listed, choose Other — this is only for guidance and selecting the wrong option will not affect configuration.
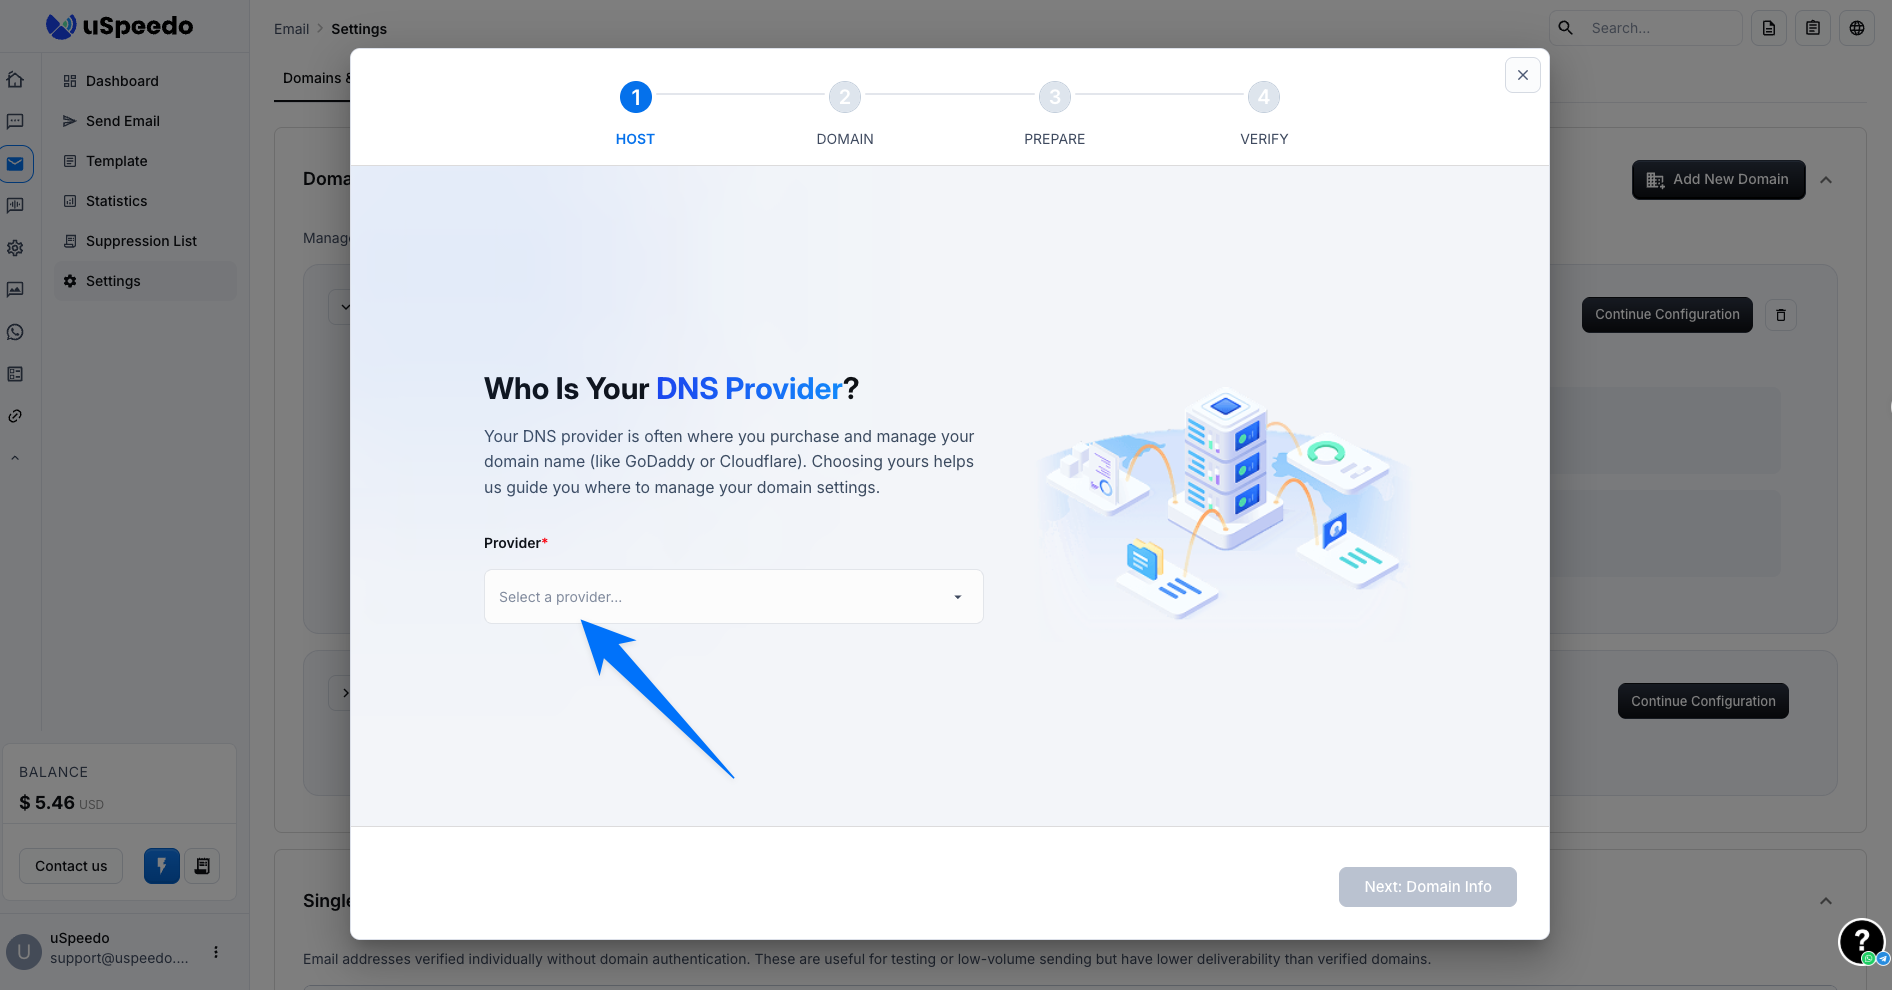
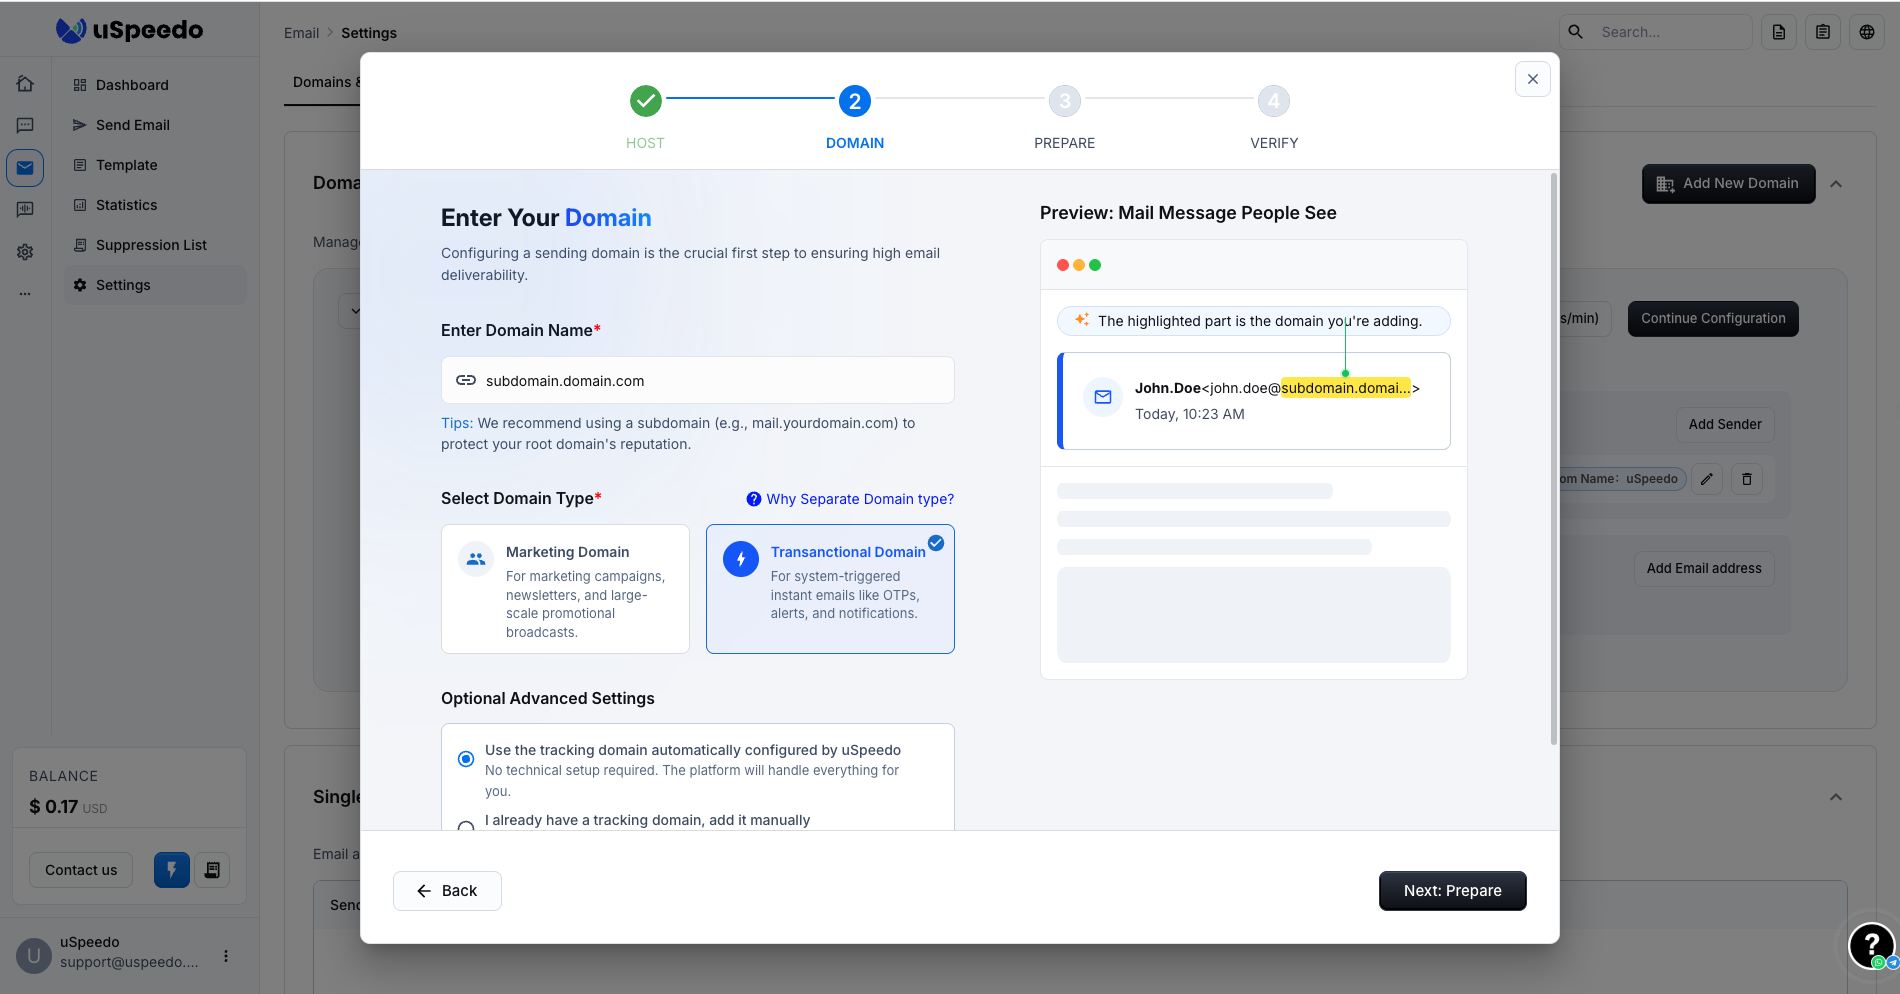
Click Next and fill in the configuration items:
- Sending Domain: We recommend using a subdomain to avoid reputation damage to your primary domain. For example, if your domain is
example.com, we suggest usingmail.example.com. - Sending Type: Select Marketing for promotional emails, or Transactional for notification, order, registration, alert, and other transactional emails.
- Tracking Domain: In most cases, select Auto Generate. We will automatically issue an SSL certificate for you. You may also apply for and add one manually.
- Sending Domain: We recommend using a subdomain to avoid reputation damage to your primary domain. For example, if your domain is
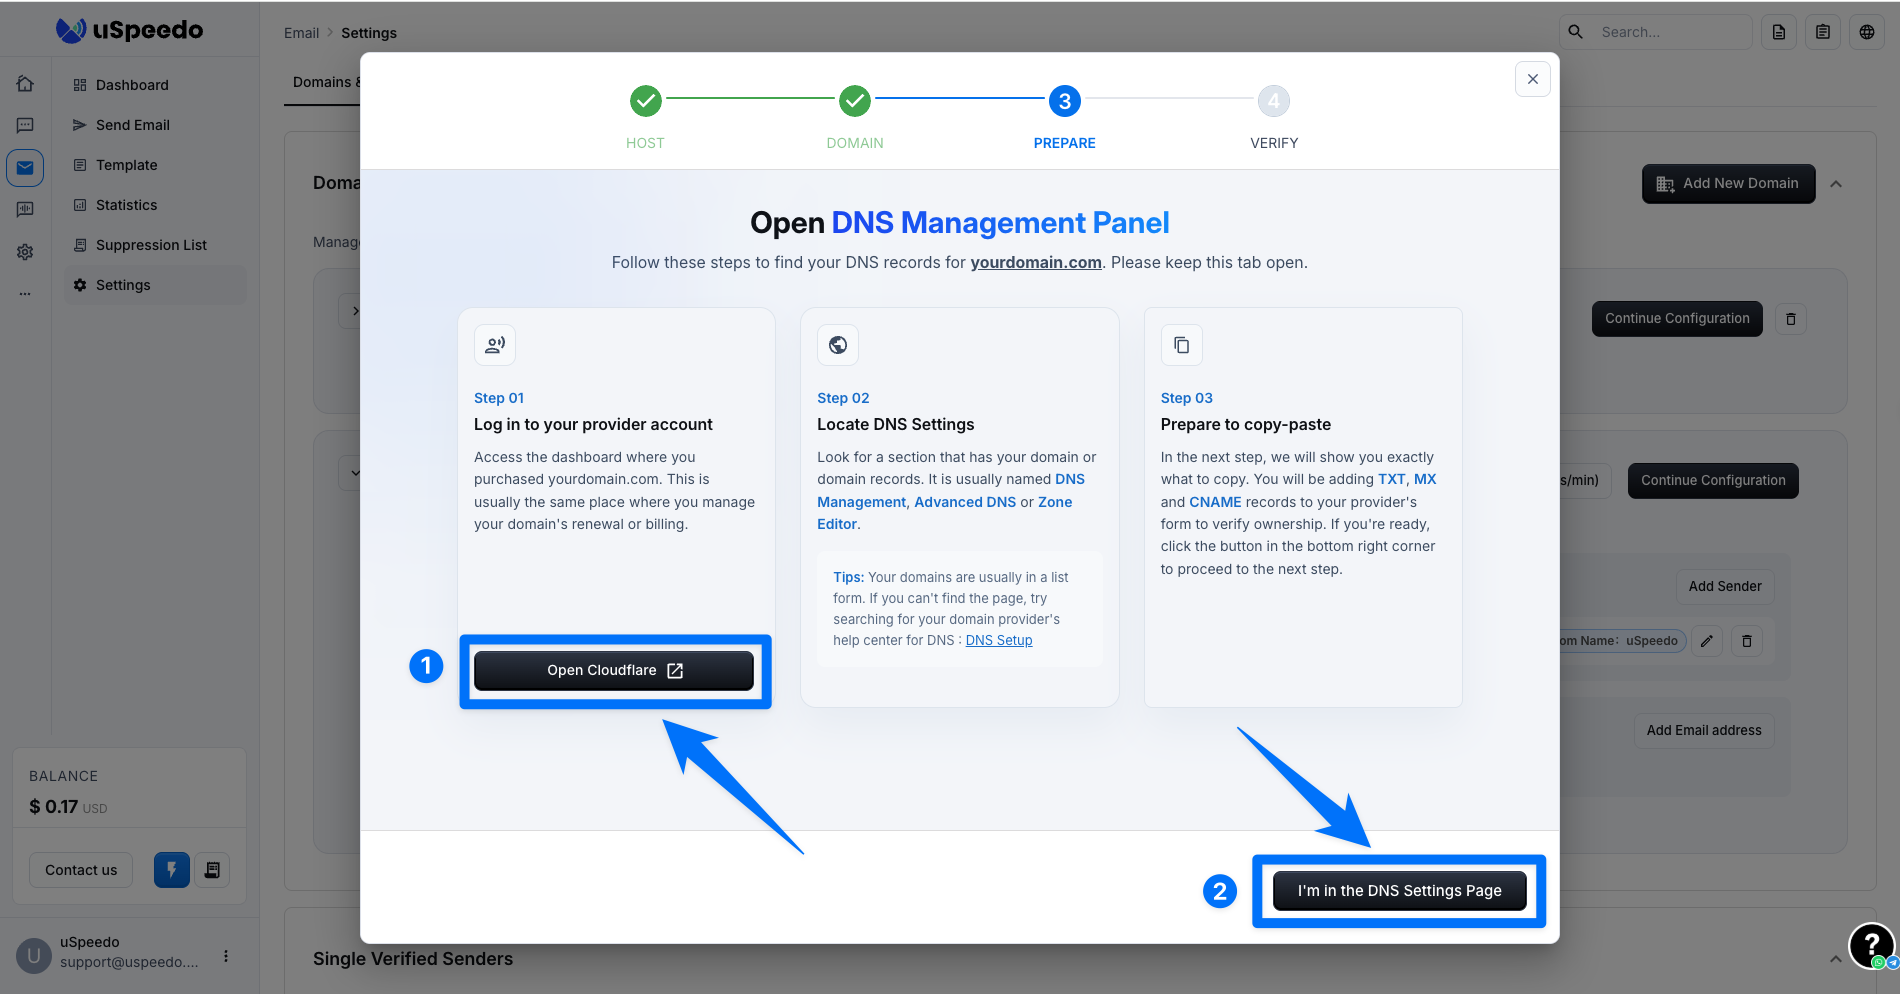
This step prompts you to open the DNS configuration page of your domain registrar. If you have already opened it, simply click Next.
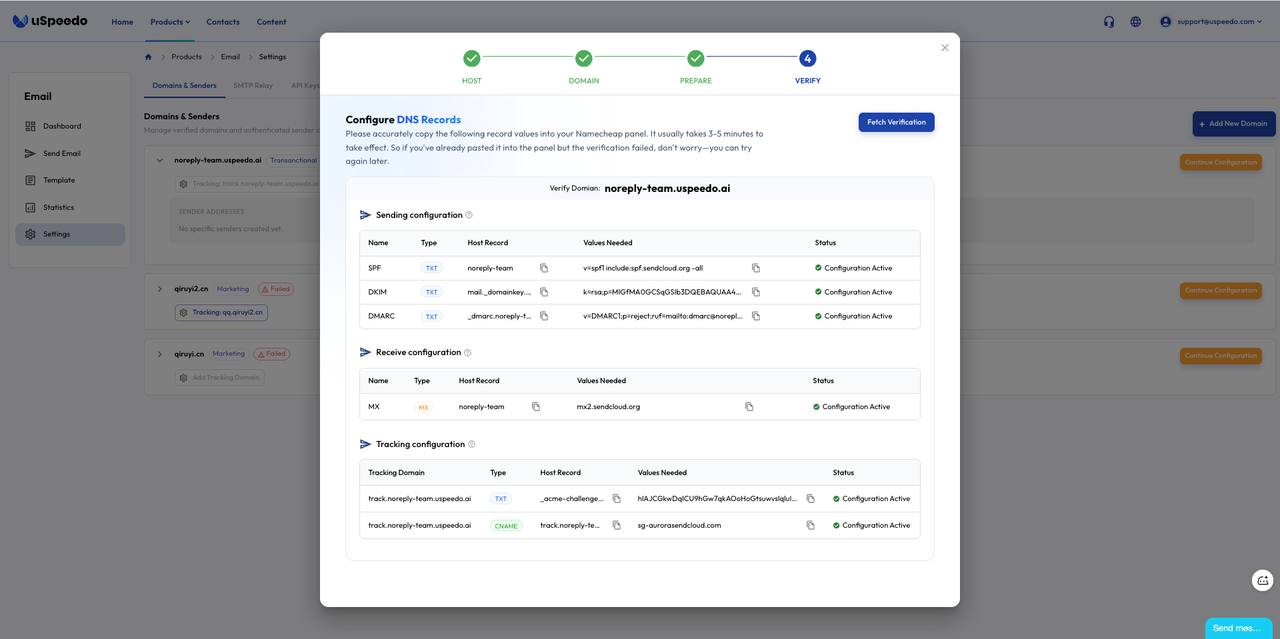
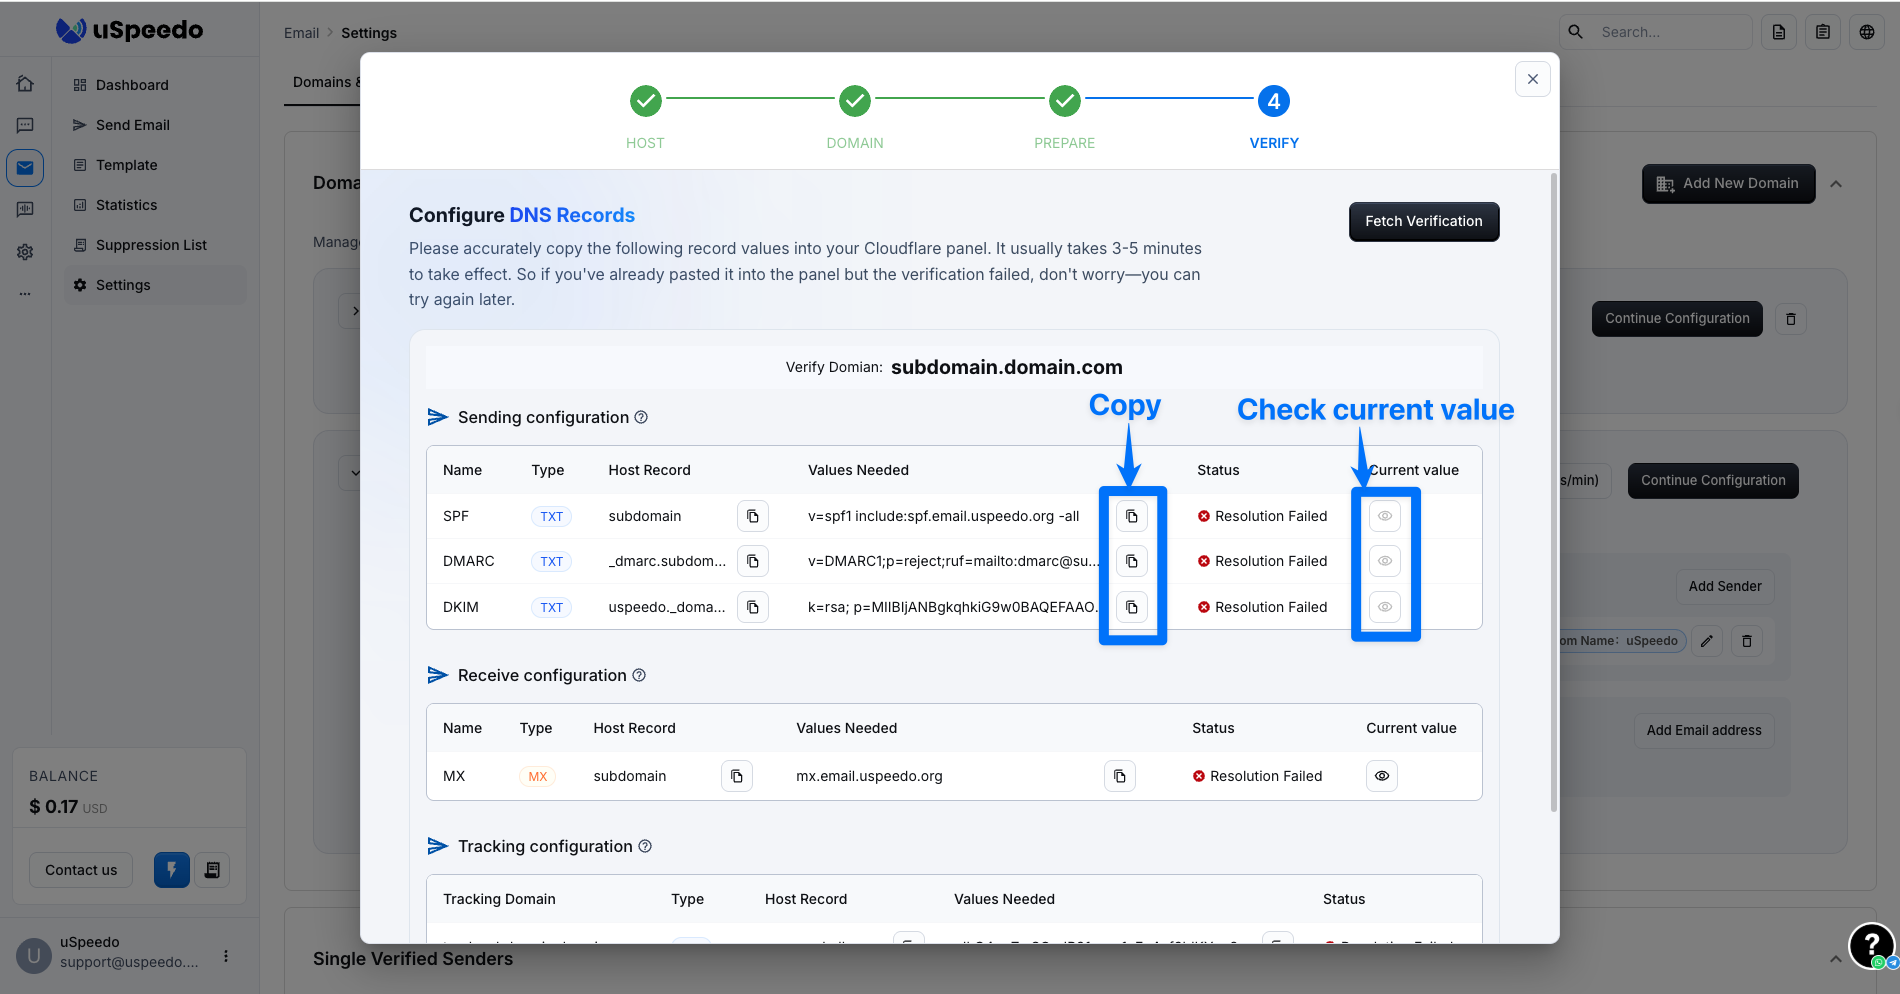
You will now see the configuration details:
- Basic Configuration: SPF, DKIM, DMARC, and MX records are required to send emails.
- Tracking Domain: After resolution, you will be able to track user email open and read data.
III. Check Results
You will see your DNS resolution results within 3–10 minutes in general cases. In special circumstances, it may take 1 hour or up to 24 hours.