How to Add a Primary Domain or Subdomain in DigitalOcean?
Overview
This guide will walk you through completing the following tasks:
- Adding a root domain or subdomain in DigitalOcean
- Configuring the DNS records required by uSpeedo
Prerequisite: You already have a DigitalOcean account.
If you encounter issues during configuration, we recommend contacting the DigitalOcean official support team, who can identify and resolve problems more quickly.
Choose Root Domain or Subdomain
Before you start, you need to decide: 👉 Use a root domain or a subdomain.
We recommend referring to the uSpeedo documentation: 👉 How to Choose a Sending Domain
Concept Explanation
- Primary Domain Examples:
- uspeedo.com
- google.com
- Subdomain Examples:
- mail.uspeedo.com
- mail.google.com
📌 Features:
- A subdomain adds a prefix (one or more) to the root domain.
- Using a subdomain is strongly recommended.
After Making Your Selection
- Add the domain/subdomain in the uSpeedo Console
- The system will automatically generate the required DNS records
Add a Domain
There are three ways to add a domain in DigitalOcean:
- Method 1: Register a new domain in DigitalOcean
- Method 2: Transfer a domain from another registrar
- Method 3: Use an existing domain and switch DNS hosting to DigitalOcean
👉 This article focuses on Method 1 and Method 3.
Method 1: Register a New Domain
Steps:
- Log in to DigitalOcean
- Go to Domain Management
- Click Add Domain

- Enter your domain
- Follow the prompts to complete the registration process
Method 2: Use an Existing Domain
If your domain is on another platform:
- Log in to DigitalOcean
- Add the domain to DigitalOcean DNS Management
- The system will provide the corresponding NS (Name Server) records
- Update the NS records at your domain registrar to the values provided by DigitalOcean
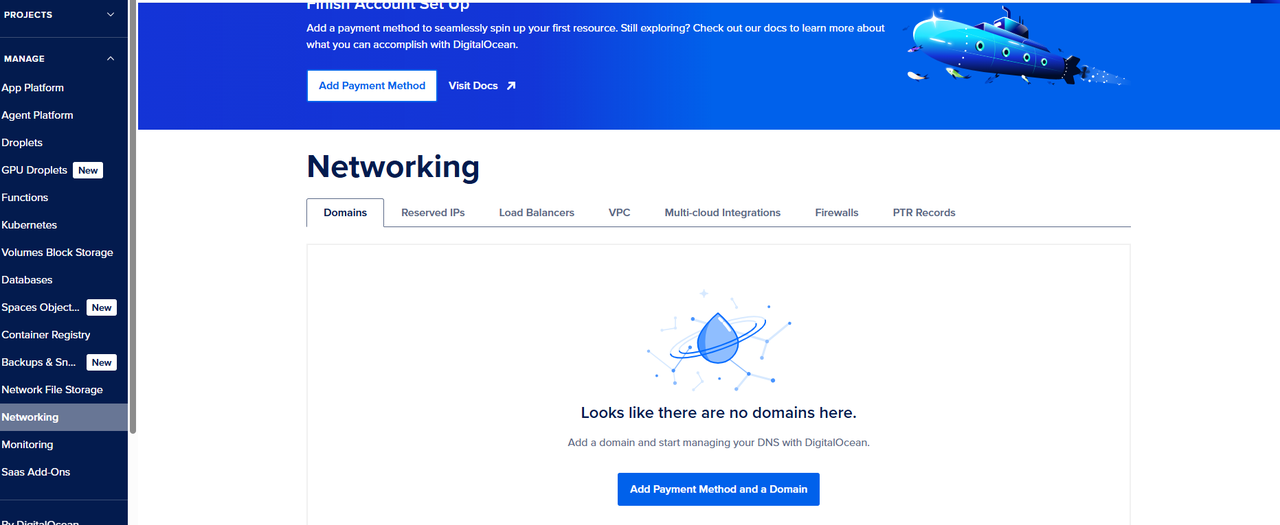
Configure the Domain
Path:
- Log in to DigitalOcean
- Go to Domain Management
- Find your domain and click Manage
- Click Add Record to add DNS records
Configure SPF
SPF is used to prevent email spoofing and reduce the risk of being marked as spam.
Root Domain SPF
| Field | Value |
|---|---|
| Type | TXT |
| Host | @ |
| Value | v=spf1 include:sendcloud.org ~all |
| TTL | 600 |
📌 Note:
If an SPF record already exists:
👉 Insert the following between v=spf1 and ~all:
include:sendcloud.org
Subdomain SPF
| Field | Value |
|---|---|
| Type | TXT |
| Host | Subdomain prefix (e.g., sc) |
| Value | v=spf1 include:sendcloud.org ~all |
| TTL | 600 |
Configure DKIM
DKIM is used to verify email origin and prevent forged emails.
Root Domain DKIM
| Field | Value |
|---|---|
| Type | TXT |
| Host | sendcloud._domainkey (or system-assigned value) |
| Value | k=rsa; p=public key (provided in console) |
| TTL | 600 |
📌 Note: The Host may be:
- default._domainkey
- sc._domainkey 👉 Use the value from the uSpeedo Console.
Subdomain DKIM
| Field | Value |
|---|---|
| Type | TXT |
| Host | sendcloud._domainkey.subdomain_prefix (e.g., sendcloud._domainkey.sc) |
| Value | k=rsa; p=public key |
| TTL | 600 |
Configure MX Records
MX records are used to designate the mail servers responsible for receiving emails.
Root Domain MX
| Field | Value |
|---|---|
| Type | MX |
| Host | @ |
| Value | mx.sendcloud.org |
| Priority | 10 |
| TTL | 600 |
📌 Note: ❗ Only keep the uSpeedo MX record. ❗ Avoid mixing multiple email providers, as this will cause delivery issues.
Subdomain MX
| Field | Value |
|---|---|
| Type | MX |
| Host | Subdomain prefix |
| Value | mx.sendcloud.org |
| Priority | 10 |
| TTL | 600 |
Configure DMARC
DMARC is an email authentication policy built on top of SPF and DKIM.
Root Domain DMARC
| Field | Value |
|---|---|
| Type | TXT |
| Host | _dmarc |
| Value | v=DMARC1; p=none; rua=mailto:dmarc-reports@yourdomain.com; ruf=mailto:dmarc-forensics@yourdomain.com; fo=1 |
| TTL | 600 |
Parameter Explanation
v=DMARC1: Protocol versionp=none: Monitor modep=quarantine: Send to spam/junk folderp=reject: Reject the emailrua: Aggregate report addressruf: Forensic report addressfo=1: Failure reporting policy
Subdomain DMARC
| Field | Value |
|---|---|
| Type | TXT |
| Host | _dmarc.subdomain_prefix (e.g., _dmarc.sc) |
| Value | v=DMARC1; p=none; rua=mailto:dmarc-reports@yourdomain.com |
| TTL | 600 |